Now that your system is on, able to be controlled via VNC, it is time to install apache2 and MySQL, the webserver and the database.
This is really not difficult, the packages are so well known you can find a lot of guide on the web.
Largest part of this tutorial is taken quite as-is from here, leading to EmonCMS installation (which will be the next step, be quite!)
Let’s start!
Open a terminal and type
sudo apt-get install apache2 libapache2-mod-php5 php5-gd php5-json php5-mysql php5-curl php5-intl php5-mcrypt php5-imagick
then
sudo apt-get install mysql-server mysql-client php5 libapache2-mod-php5 php5-mysql php5-curl php-pear php5-dev php5-mcrypt php5-json git-core redis-server build-essential ufw ntp
sudo apt-get install mysql-server
sudo pear channel-discover pear.swiftmailer.org
sudo pecl install channel://pecl.php.net/dio-0.0.6 redis swift/swift
You have got to wait some minutes, Cubieboard is not so speedy! After that:
sudo sh -c 'echo "extension=dio.so" > /etc/php5/apache2/conf.d/20-dio.ini'
sudo sh -c 'echo "extension=dio.so" > /etc/php5/cli/conf.d/20-dio.ini'
sudo sh -c 'echo "extension=redis.so" > /etc/php5/apache2/conf.d/20-redis.ini'
sudo sh -c 'echo "extension=redis.so" > /etc/php5/cli/conf.d/20-redis.ini'
sudo a2enmod rewrite
Now you need to change some permissions. Depending on which distro you are using it changes a bit, as follow.
If you are using Debian Wheezy in a terminal type
sudo pluma /etc/apache2/sites-available/default
else, if you use Debian Jessie or Ubuntu
sudo pluma /etc/apache2/apache2.conf
A text file will be shown, somewhere you can find
AllowOverride None
under <Directory /> and under <Directory /var/www/> .
Change it to
AllowOverride All

Save and exit, then restart the web server:
sudo service apache2 restart
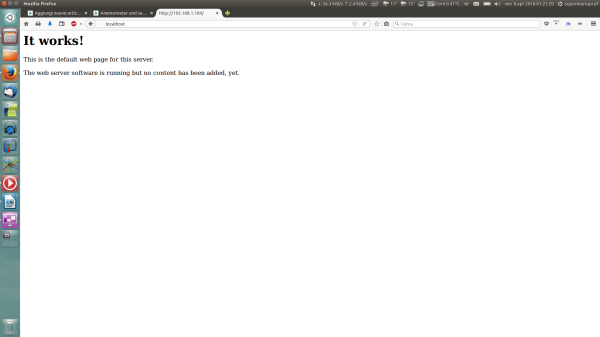
If everything is right, opening your preferred web browser on your PC and typing
localhost
should show you Apache2 greetings!

You can also activate some kind of dynamic DNS, just like noip.com (free) or dyndns (not free), in order to have a domain associated to your router. Then setting up port forwarding on your router and specific IP address inside your home network will do the job, you will be able to access your webserver on Cubieboard simply typing your domain name in a browser, wherever you are.
But this is more than what this tutorial aims to, if you wanna now more…Google is your friend! or contact me!

